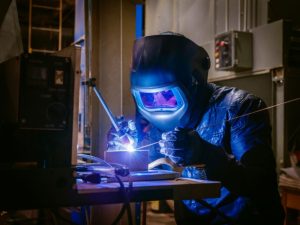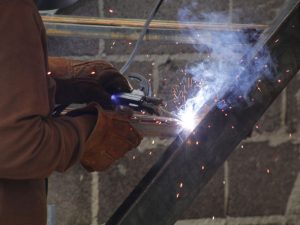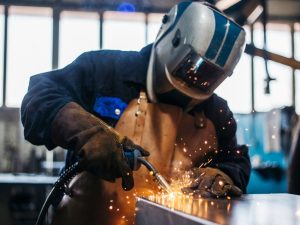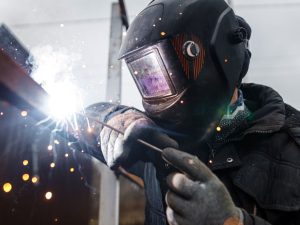
Size welding fume extraction for a training lab by the number of stations running at once and the layout of the room, not by enrollment. This post is for program directors, facilities managers, and instructors who are planning a new welding lab or fixing an old one, where one instructor supervises many students at the same time.
It covers booth design, room airflow, and a phased way to build out. For the equipment itself, see KEMPER’s fume extraction solutions for educational and training institutions.
How Do You Size Welding Fume Extraction for a Training Lab?
Count stations, not students. Say a lab enrolls 24 students but has eight booths. At most eight arcs run at once, and each one is a separate plume that needs its own capture point.
Then check the busiest hour. Open lab time, make-up sessions, and demonstrations can put every booth to work together. Give your supplier the station count, the busiest schedule, and the processes students run. KEMPER describes its central extraction systems as connecting multiple workstations to one filtration unit, and the supplier should confirm sizing for your layout.
What Should Welding Booths and Screens Look Like?
OSHA’s general industry welding standard, 29 CFR 1910.252(c), sets two layout details worth checking in a lab:
- Screens around welding areas should not seriously restrict airflow. OSHA suggests mounting them about two feet above the floor.
- When a fixed booth serves as the local exhaust, it needs a top and at least two sides. It must keep 100 linear feet per minute of airflow away from the welder.
ANSI Z49.1, the American Welding Society safety standard, names educators and students in its definitions. It says to separate stations with noncombustible screens where operations permit, and its notes say screens should let air circulate at floor level as well as above.
Instructors also need to see the arc and the student’s hands. Build a mock booth and test sight lines before you commit to walls.
Where Do Room Airflow and HVAC Fit in a Welding Lab?
Drafts cause problems of their own. Z49.1 recommends that ventilation not produce more than about 100 feet per minute at the work zone, to avoid disturbing the arc or flame. The standard adds that this number is for quality control and does not show that contaminant control is adequate for health.
Both halves matter. A supply vent aimed at a booth can disturb a student’s arc, while a calm room with no capture at the arc still leaves fume in the air. Walk the lab with your HVAC contractor and check where each supply diffuser sits relative to each booth.
How Do You Plan for the Instructor and Demonstrations?
An instructor can spend the whole day in a room that each student uses for one class block, and the instructor stands near every booth in turn. Plan a demonstration station where the group gathers, with its own capture point. That way a demo does not depend on whichever booth is free. KEMPER lists mobile filter units for changing layouts, demonstrations, and temporary setups.
How Do You Phase a Lab Upgrade on a Budget?
Cover the busiest stations first and choose a layout that lets you add capacity later. For a single booth, Welding Table Setup Best Practices for Fume Control covers the details.
Which rules apply to a school depends on its jurisdiction, so check with your institution’s safety office. In Canada, the provinces and territories set occupational health and safety rules, and CCOHS publishes welding ventilation guidance.
If you are a program director, facilities manager, or instructor with a lab to plan, mark the booth positions on your floor plan and share it with our team at KEMPER. The team can talk through how extraction would reach each station.