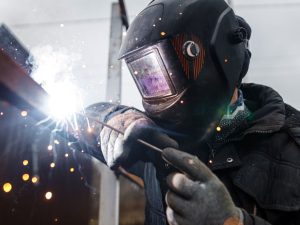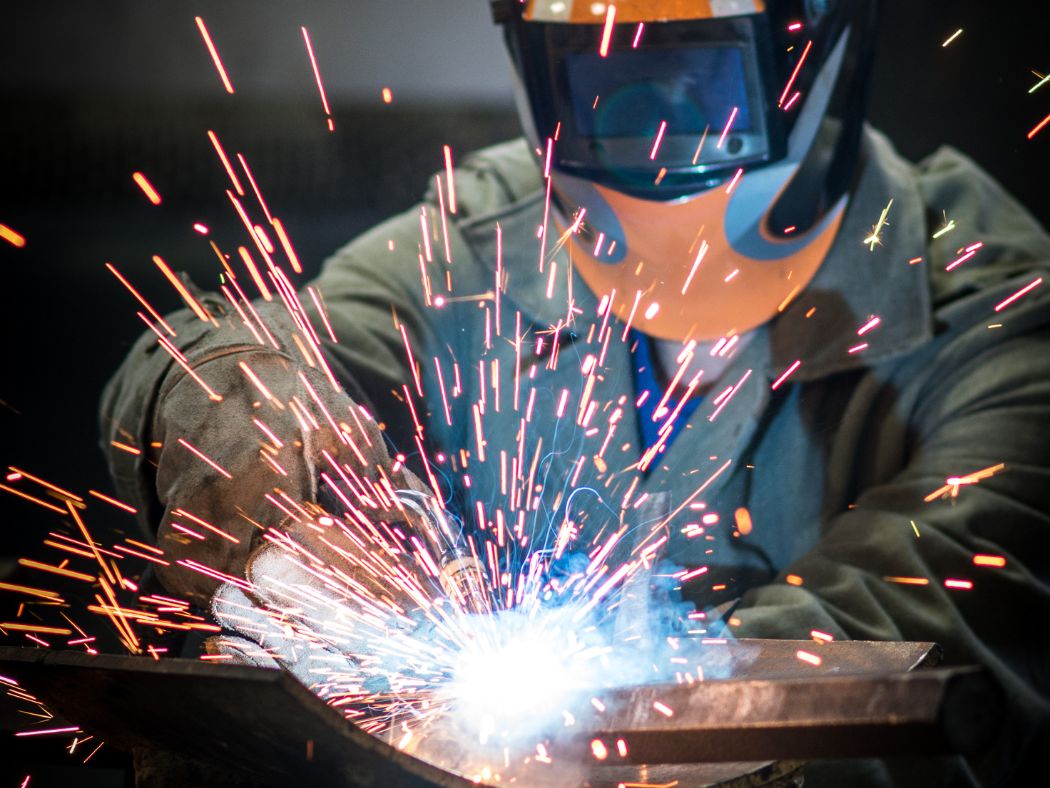
Welders get the most from a welding fume extraction system when they build four habits. They keep the capture point close to the arc, move it with the weld, stay out of the airflow, and check the equipment before every shift. If you supervise welders or run a training program, this guide shows how to teach these fume capture techniques and how to catch the mistakes that undo them.
Why Technique Matters as Much as Equipment
A shop can own the right extraction system and still end up with poor fume control. OSHA’s guidance is direct: keep hoods, extractor guns, and vacuum nozzles close to the plume source, and position flexible systems so fume is drawn away from the welder (OSHA’s fact sheet). CCOHS gives Canadian shops the same advice and notes that high-velocity air can affect shielding gases (CCOHS welding ventilation guidance). Suction fades quickly with distance, so a nozzle parked a little too far back captures far less than the same unit at the arc.
Four Fume Capture Techniques Every Welder Should Learn
Teach these first, and revisit them with experienced welders regularly.
Keep the capture point close to the arc. On gas-shielded work such as MIG and TIG, leave enough gap that suction doesn’t pull shielding gas off the weld pool. If porosity appears right after someone moves a nozzle in, check that first.
Move the capture point with the weld. Fume rises from the arc, not from a fixed spot. On a long seam, the arm or nozzle has to travel with the welder, so reposition at natural breaks such as the end of a pass.
Stay out of the airflow. Standing between the nozzle and the arc can carry fumes across your breathing zone. Set up so the pull moves fume away from your face and aim the exhaust outlets away from coworkers.
Check the equipment before every shift. A kinked hose, a loaded filter, or an arm that has sagged out of position takes seconds to spot.
Common Mistakes to Correct During Training
Watch for these during on-the-job coaching:
- Nozzle or arm sitting well back from the arc, or left where the last job ended
- Arm still parked at the start of the seam while the welder is at the end of it
- Head, shoulder, or the part itself blocking the capture path
- Fixed hood used on work that has moved outside its capture zone
Correct each one at the station, as it happens, with a single specific instruction. “Move the arm up with you” tends to land better than a general reminder about fume.
Build Repetition Into Training
One orientation session isn’t enough. Build fume capture into onboarding, starting with a demonstration: a ventilation smoke tube released near the nozzle, with the extractor running and no arc, shows welders how far the pull reaches and how fast it fades. Because the smoke is an irritant, follow the manufacturer’s directions and keep it away from faces. Then let new hires practice on sample joints before production parts, and refresh everyone at least once a year and after any equipment or process change.
Match Training to the Right Equipment Type
Train on the equipment your welders use daily. Welders on high-vacuum extraction need practice with torch-integrated extraction and nozzles, and those on mobile filter units need practice repositioning a flexible arm. Where central extraction systems use fixed hoods or ducted connections, welders should learn where the capture zone ends. For the bench itself, see our guide to welding table setup for fume control.
KEMPER offers extraction options for educational and training institutions, from central systems for dedicated welding labs to mobile filter units for changing layouts.
Give Your Team the Training They Need
Good technique protects welders and gets full value from your equipment. If you’re setting up or upgrading a training space, talk to KEMPER North America about your setup.