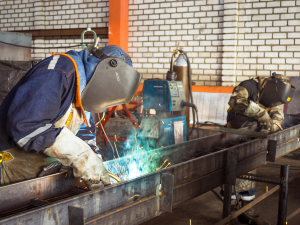
Installation depends on the type of unit. You can often set up a portable mobile filter unit and have it running in a short time. A central extraction system that serves several workstations needs more planning. This includes ducting, electrical service, and workstation layout.
This guide covers the general steps for installing a welding fume extraction system. Always follow the installation instructions for your specific unit. Have a qualified professional handle ducting, electrical, and structural work.
Step 1: Assess Your Workspace Before You Install
Before you install anything, confirm three things: the workstation layout, the number of welders the system must serve, and where the unit or extraction points will sit. This is also the stage to settle on a system type, if you have not done so already.
Step 2: Confirm Power and Ducting Requirements
Every system has its own electrical requirements. Some systems also have ducting requirements. Check the product documentation for details.
Confirm these requirements with a qualified electrician or contractor before installation day. This step matters most for stationary or central systems, which may need dedicated circuits or ducted exhaust runs.
Step 3: Position the Unit or Filtration System
Place the filter unit or central filtration system where it will not block workflow. Leave clearance for filter access and maintenance. For mobile filter units, make sure you can move the unit easily as jobs change.
Stationary and central systems stay in a fixed location. Confirm the placement against your workstation layout before final mounting.
Step 4: Install the Extraction Arm, Hood, or Nozzle
The extraction point captures the fumes. Its placement matters as much as the filtration unit itself.
Mount extraction arms or hoods so you can position them close to the arc during welding. Confirm the range of motion covers the full work area.
For high-vacuum systems with torch-integrated extraction or nozzles, follow the setup specified for that unit.
Step 5: Test the System Before Regular Use
Once everything is connected, run the system. Confirm airflow at the extraction point. Check that the filters sit correctly. Check for obstructions in ducting or hoses.
This is also the time to show welders how to position the extraction arm or hood. Even a well-installed system depends on consistent use.
Step 6: Build In Routine Maintenance
Follow the filter inspection and replacement schedule in your system’s documentation. Check hoses, arms, and seals for wear on a regular basis.
A steady maintenance routine keeps the system working the way it was designed to.
Need Help Planning an Installation?
Installation planning looks different for a single mobile unit than for a multi-station central system. If you have questions about ducting, electrical work, or layout, KEMPER North America’s team can help you plan the setup before you buy or install.